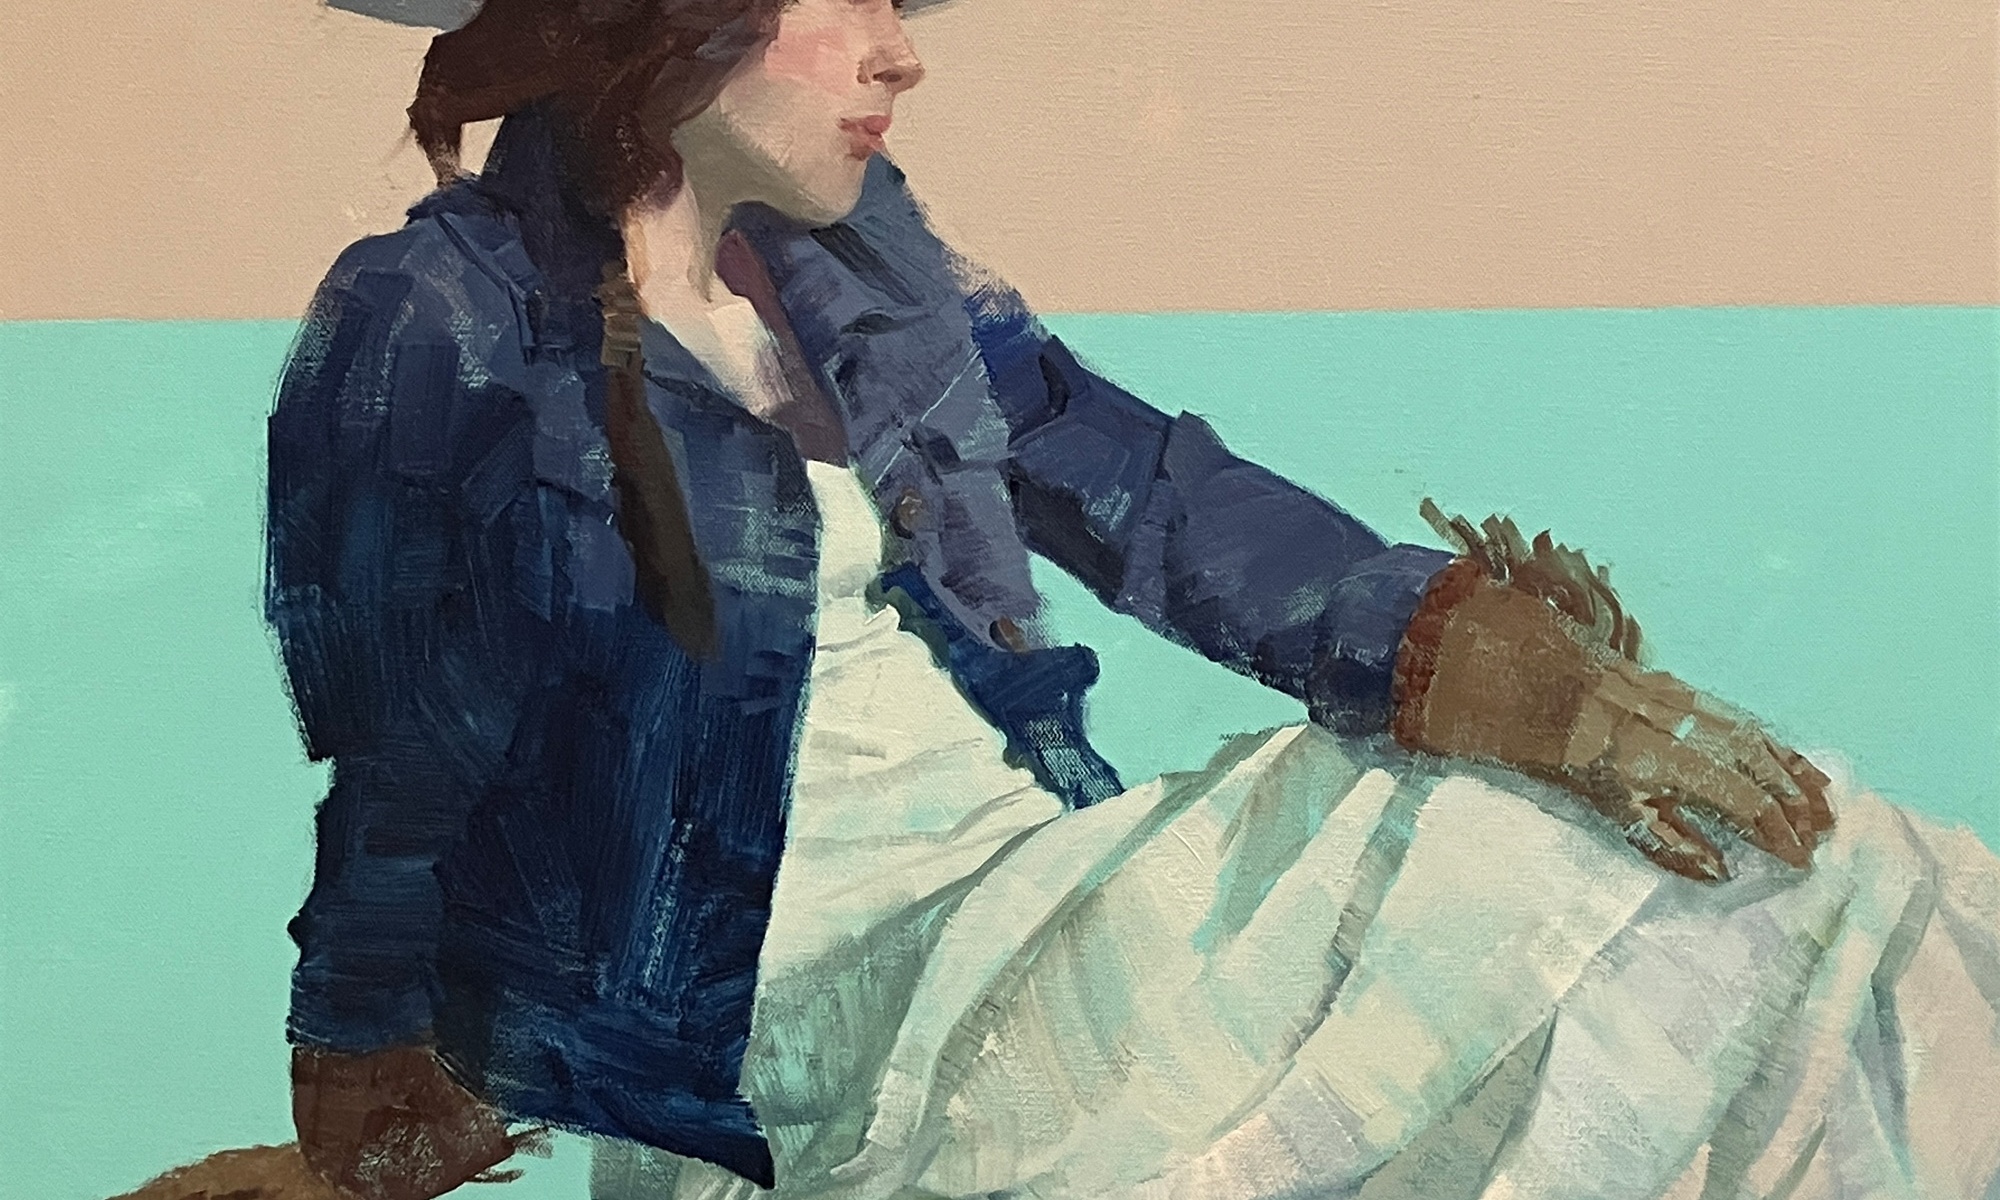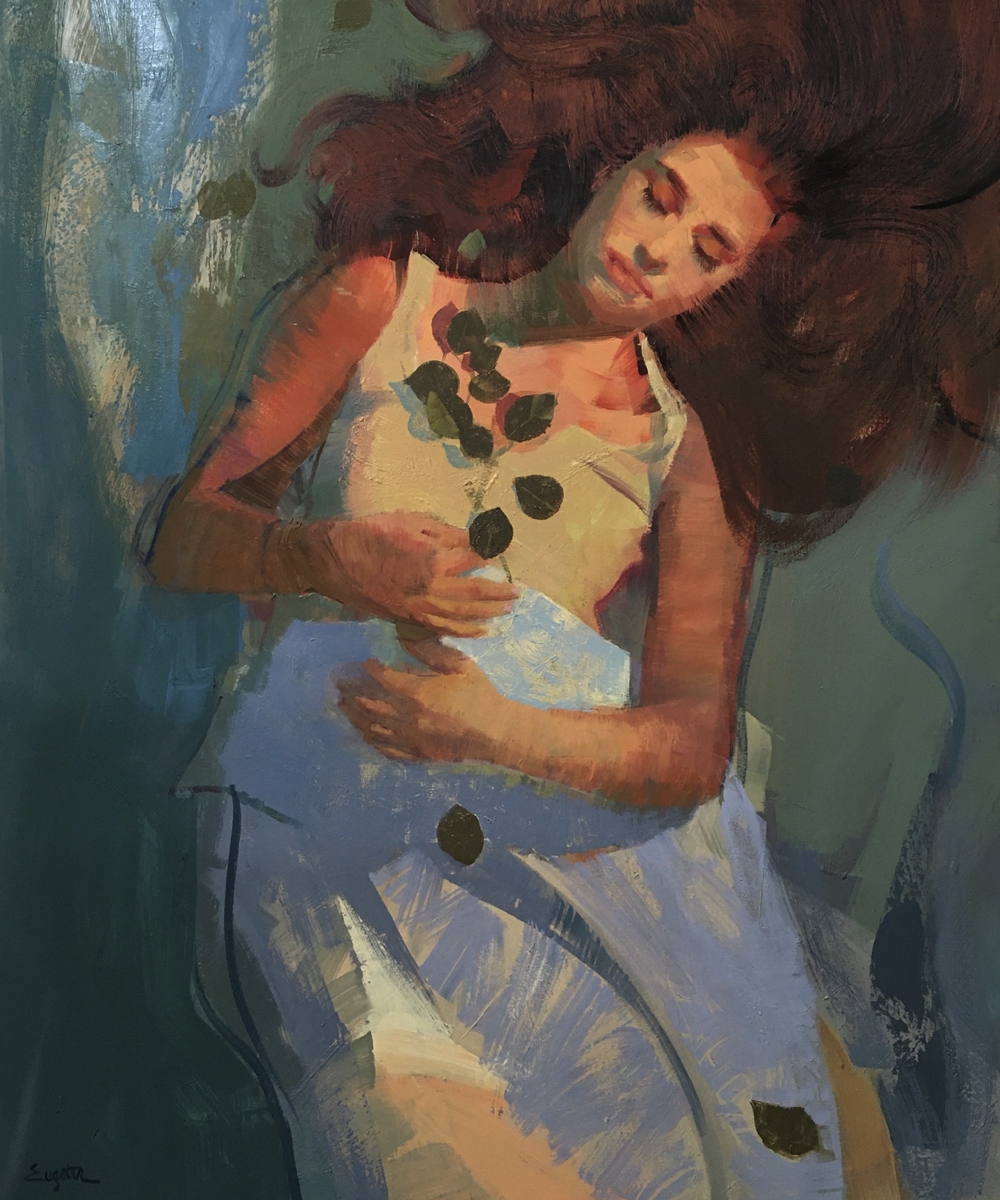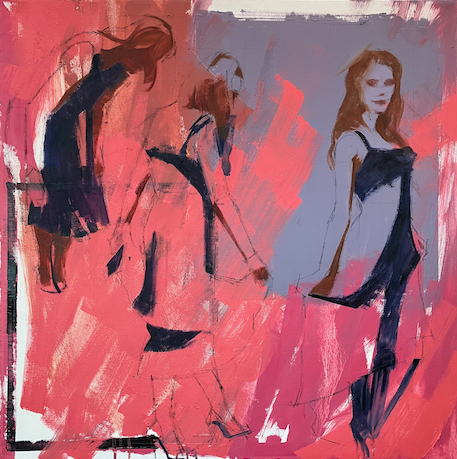

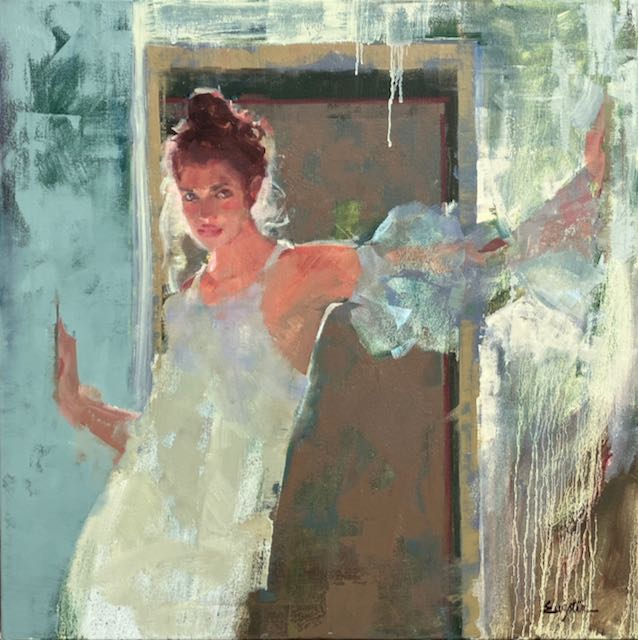
The longer I paint, the more I realize that the really exciting things that happen are when I let go, intentionally lose control.
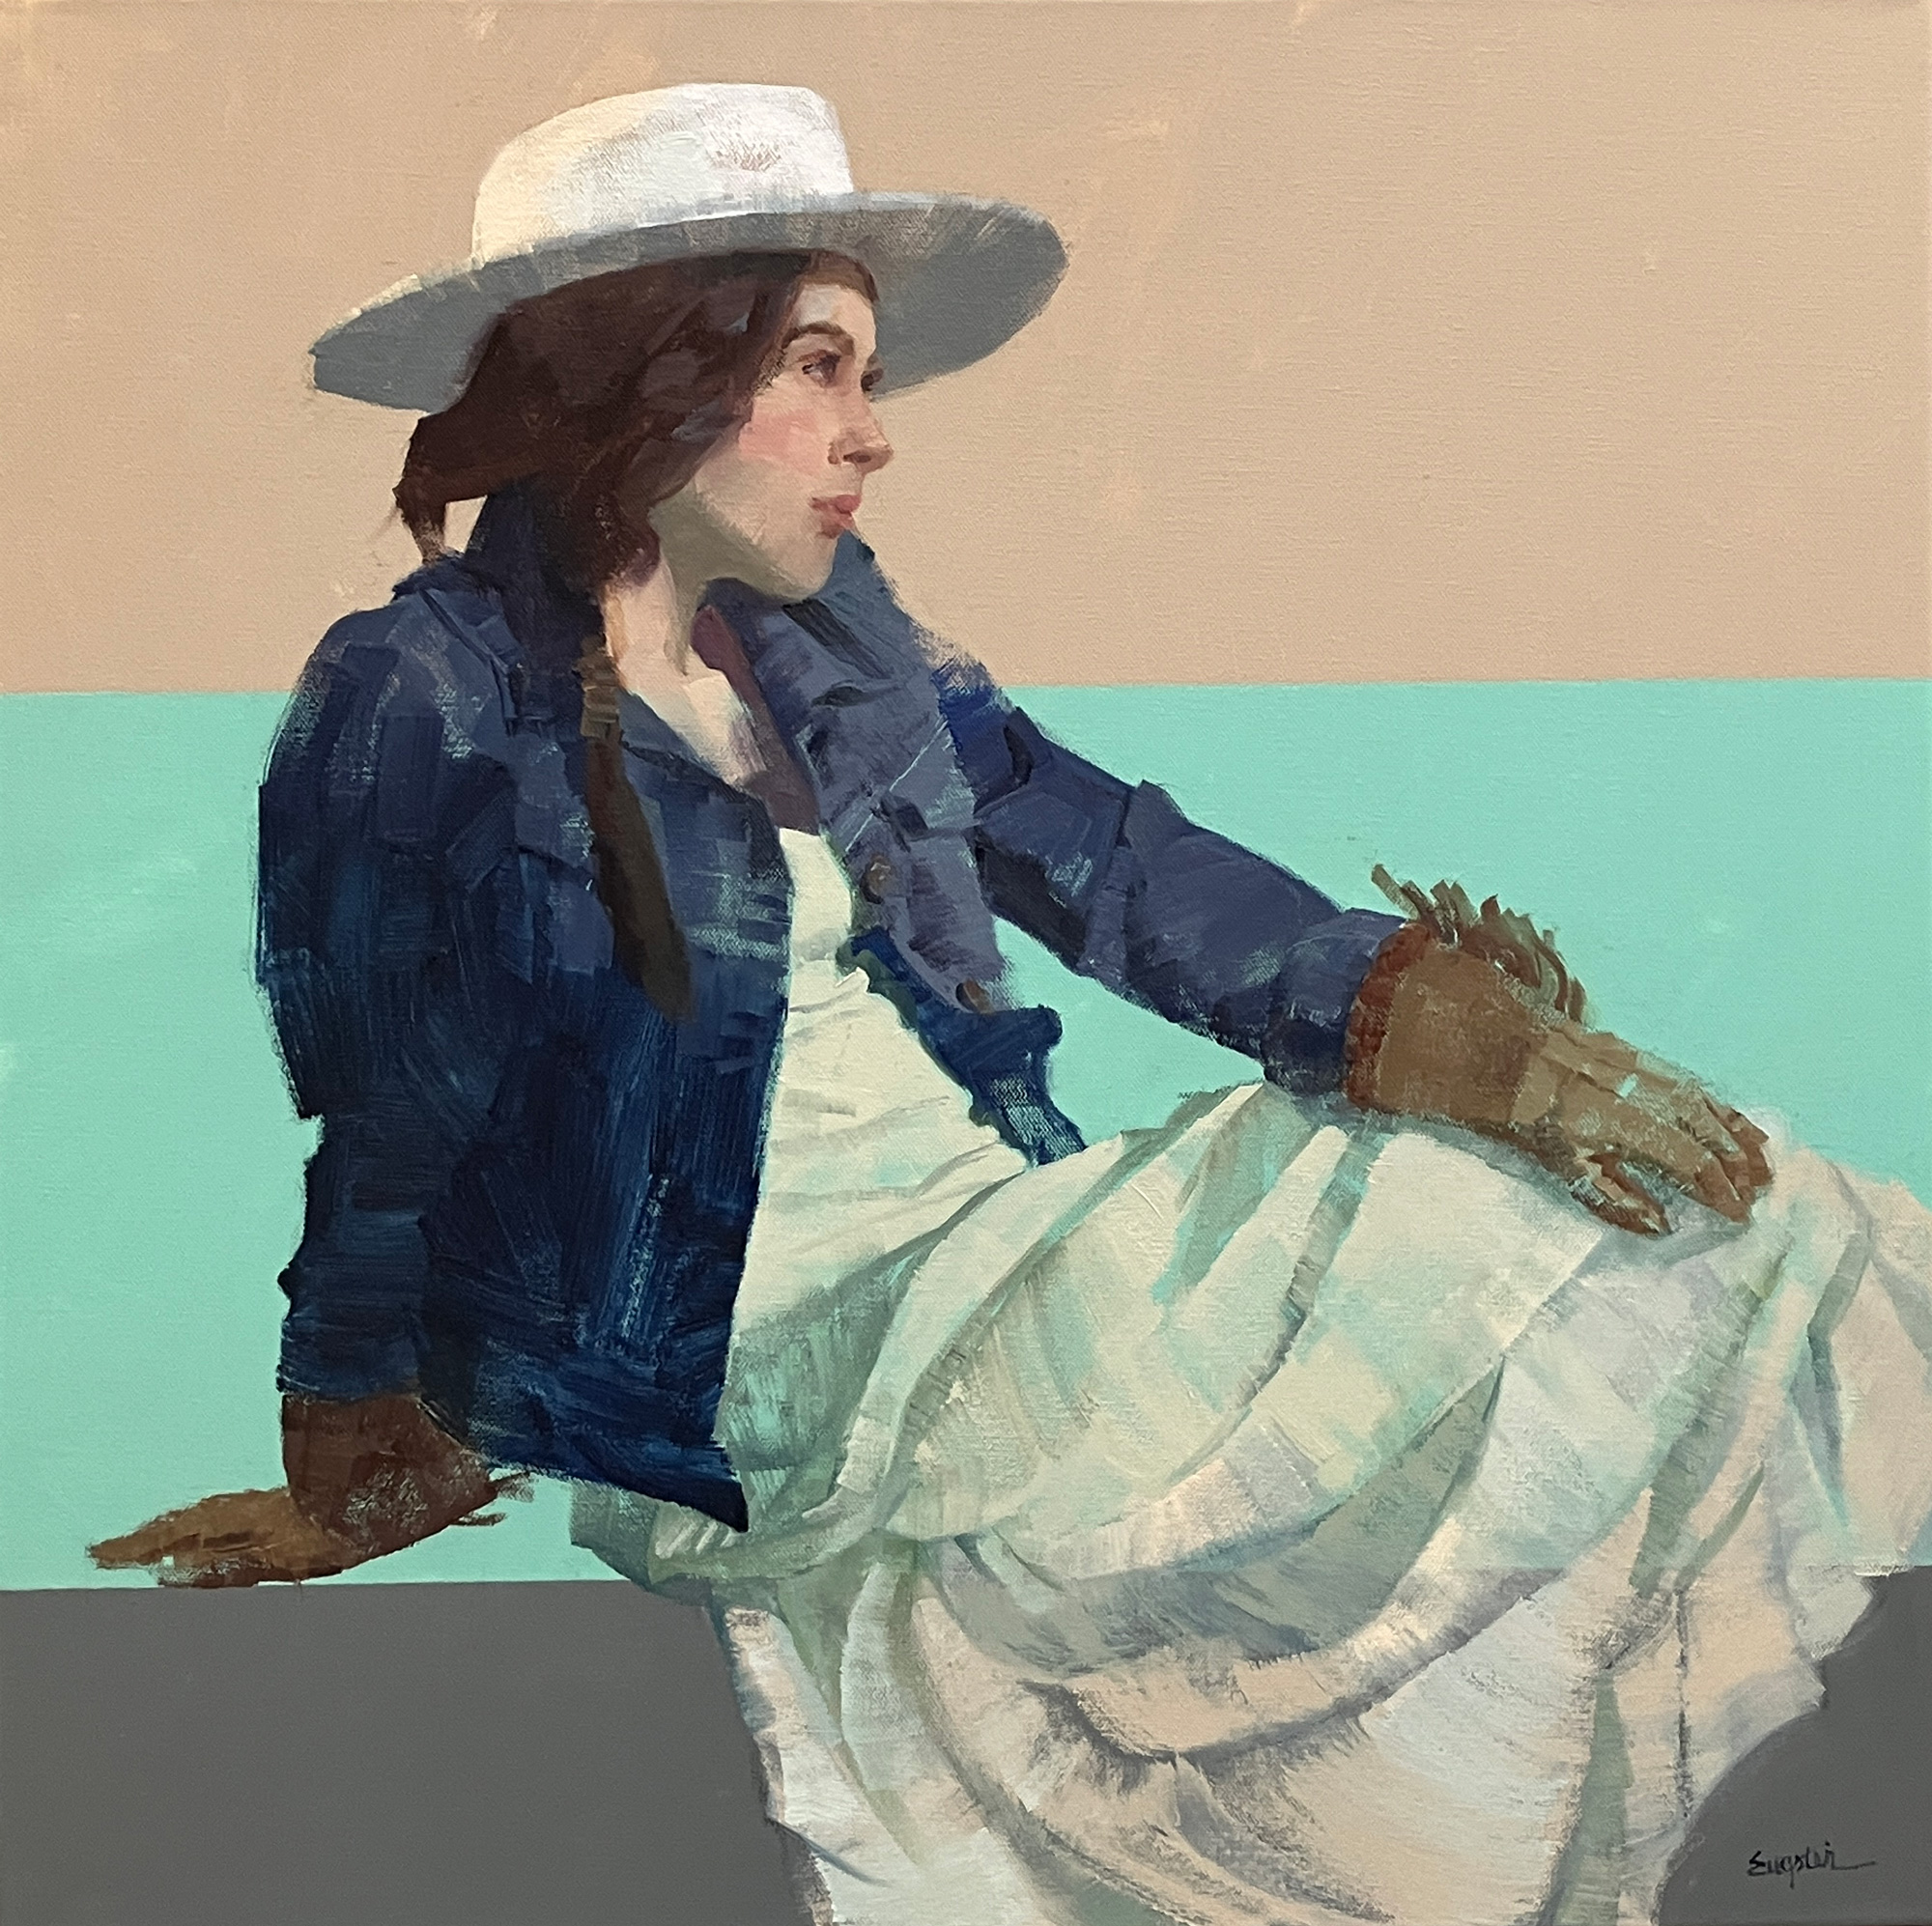
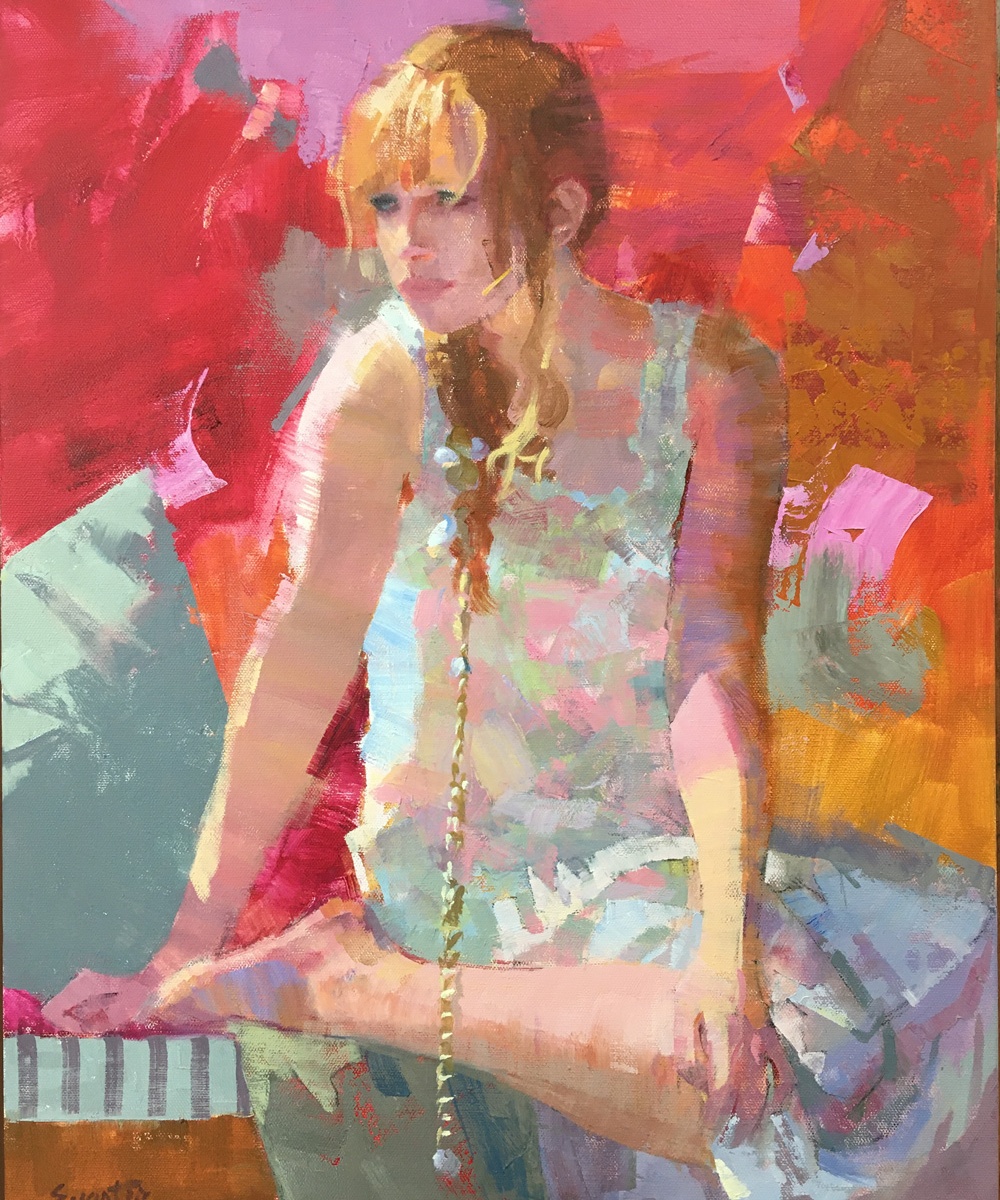
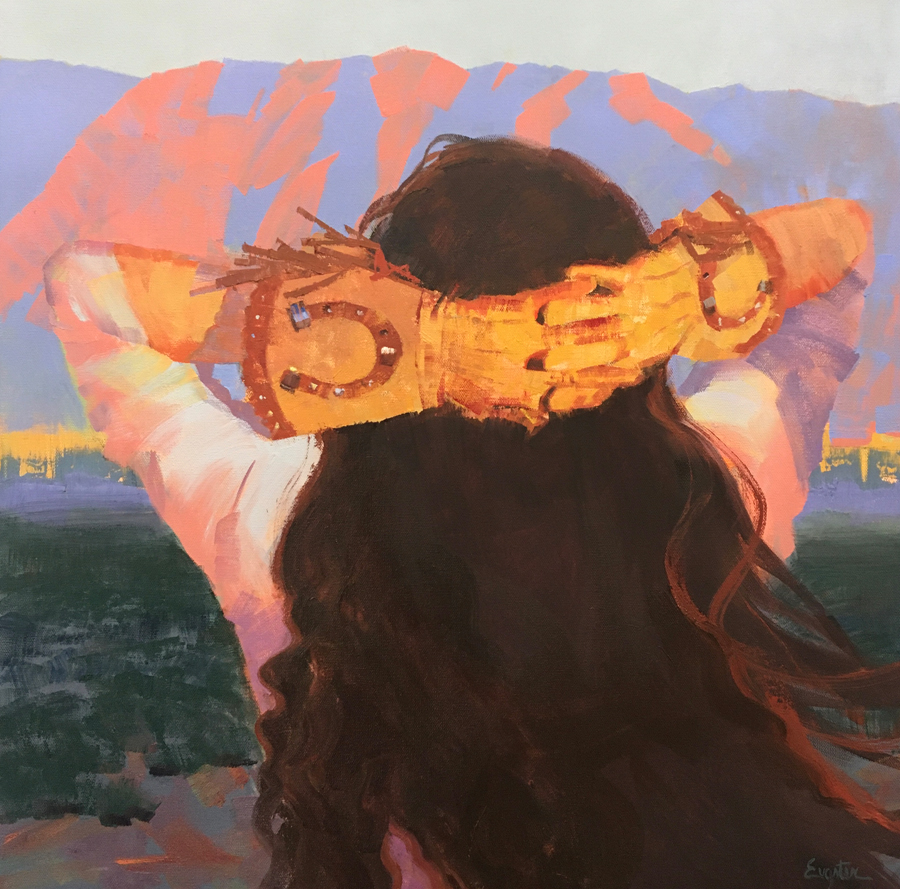
What do I mean by intentionally loosing control? Not forcing the paint to look like a literal thing; like a door, a flower, an arm. This is where drawing skills are very important. When suggesting “things” and not painfully rendering them, bits of truth need to be sprinkled around (accurate drawing).
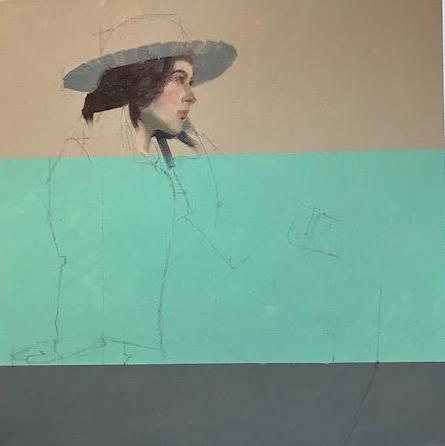
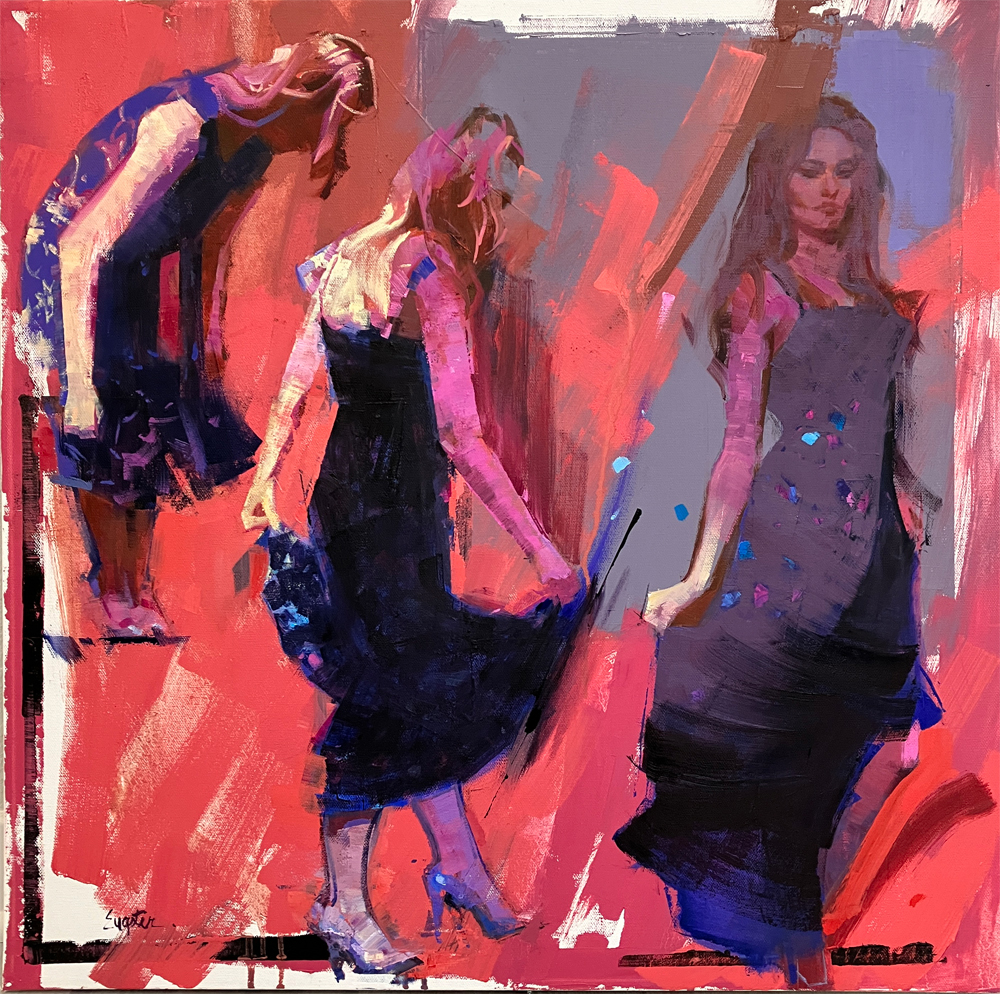
Getting emotionally involved with your painting helps to initially discover a direction. No, just throwing paint on the canvas isn’t a direction. How do you want it to feel, the mood.
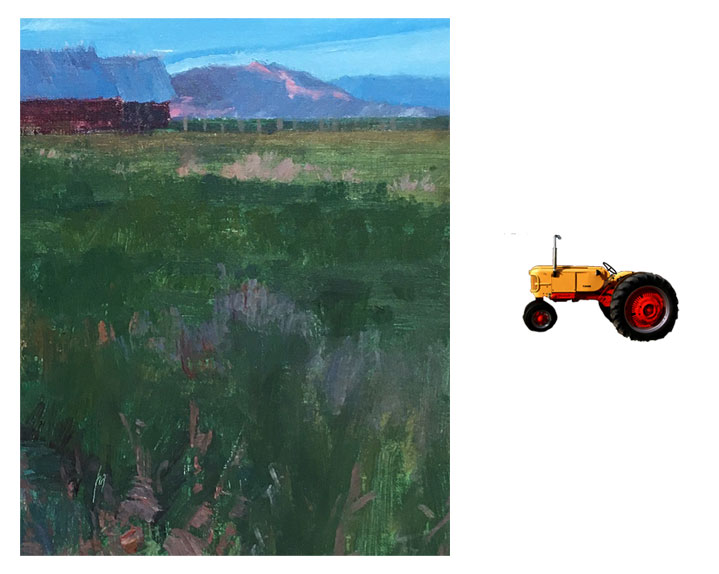
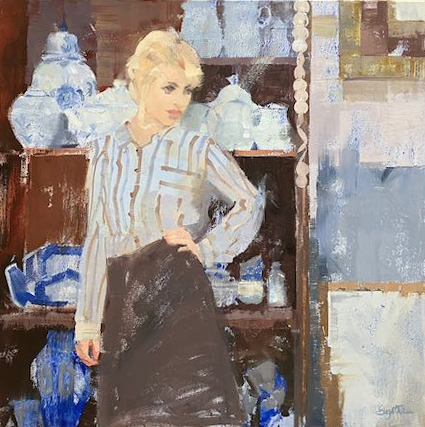
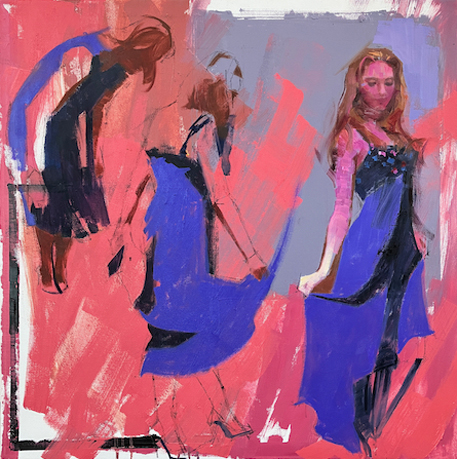
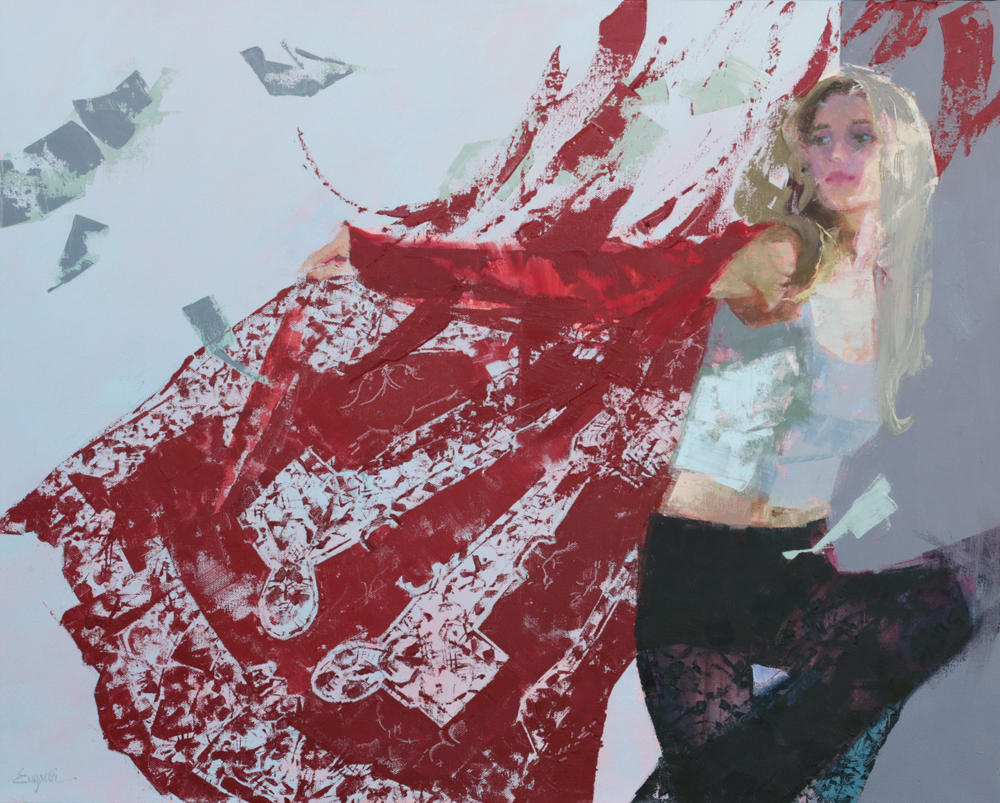
Paint can do some wonderful things when given a little encouragement, then backing away. Beginning the painting with a underpainting gives a base to start with. I use colors that work with the subject, a warm painting with a warm underpainting or something that works against it, a cool underpainting with a warm painting, which is what I usually choose because I think it’s exciting to see little pieces of the wrong thing showing through the right tones.
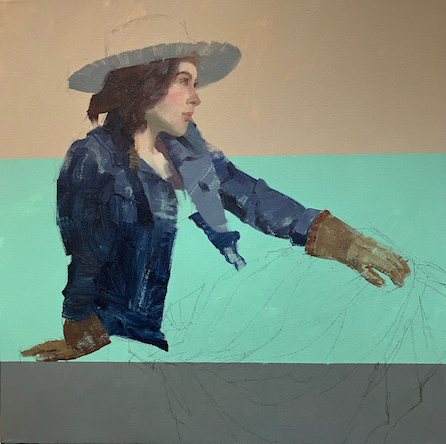
Here are just a few of the techniques that can help you to intentionally loose some control;
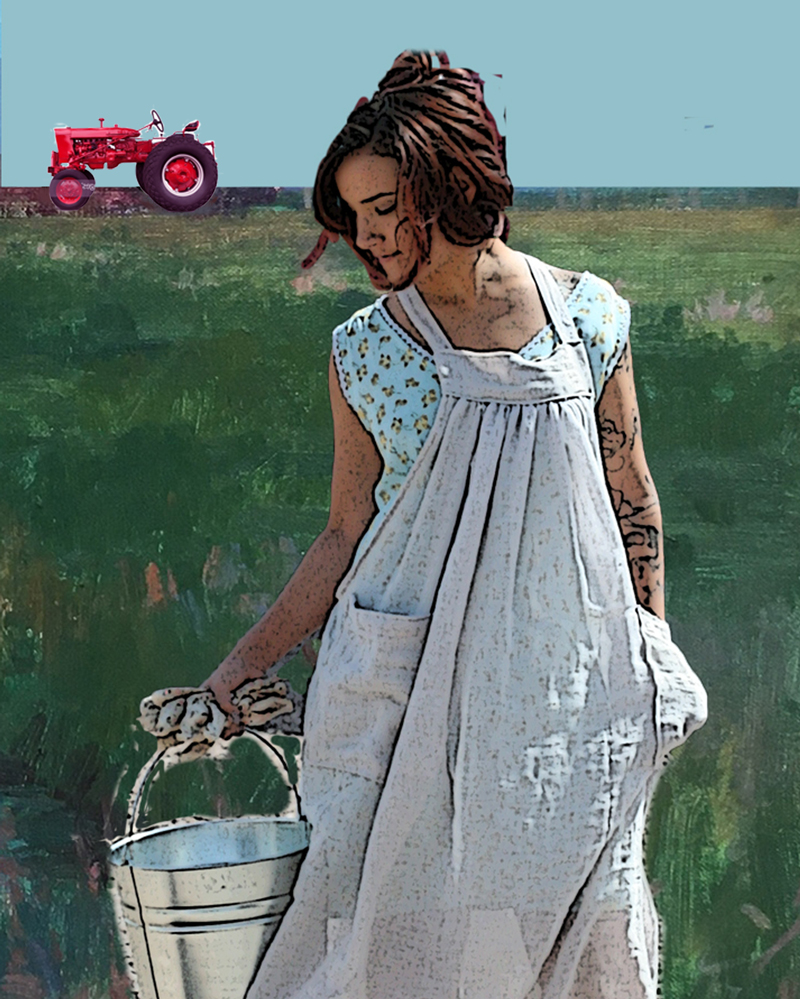
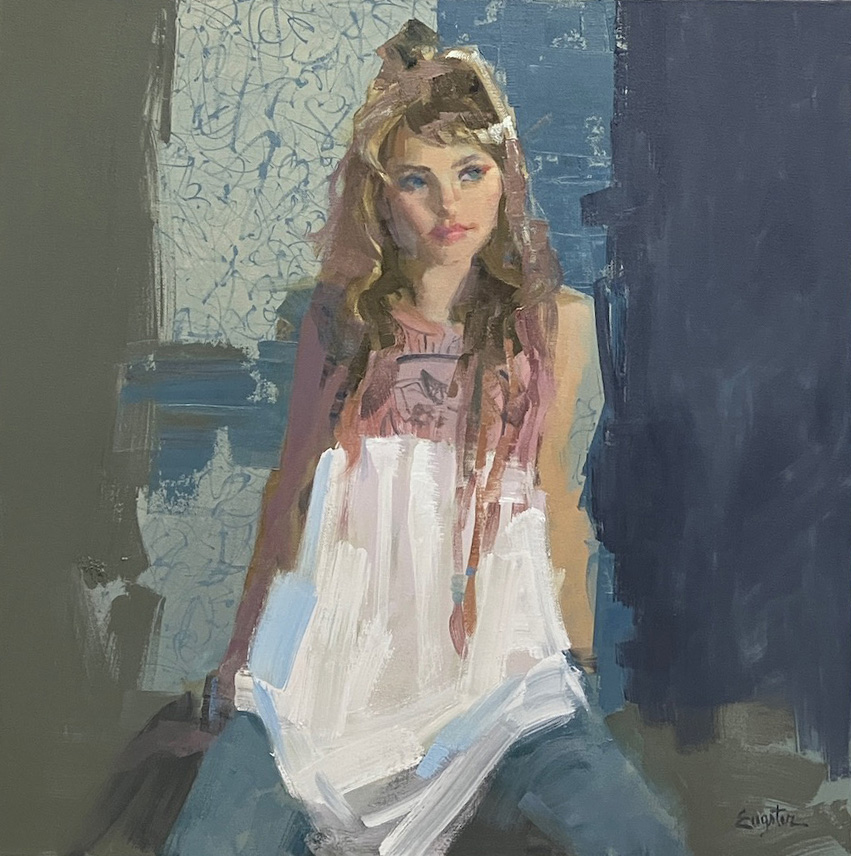
- Dragging a lighter value paint over a dried underlayer with a 4″-6″ metal trowel. I sometimes use a ripped out magazine page to mask areas I don’t want effected or just wipe away if it lands somewhere that doesn’t look right.
- Stuff just happens when you’re working on another area, don’t automatically make corrections.
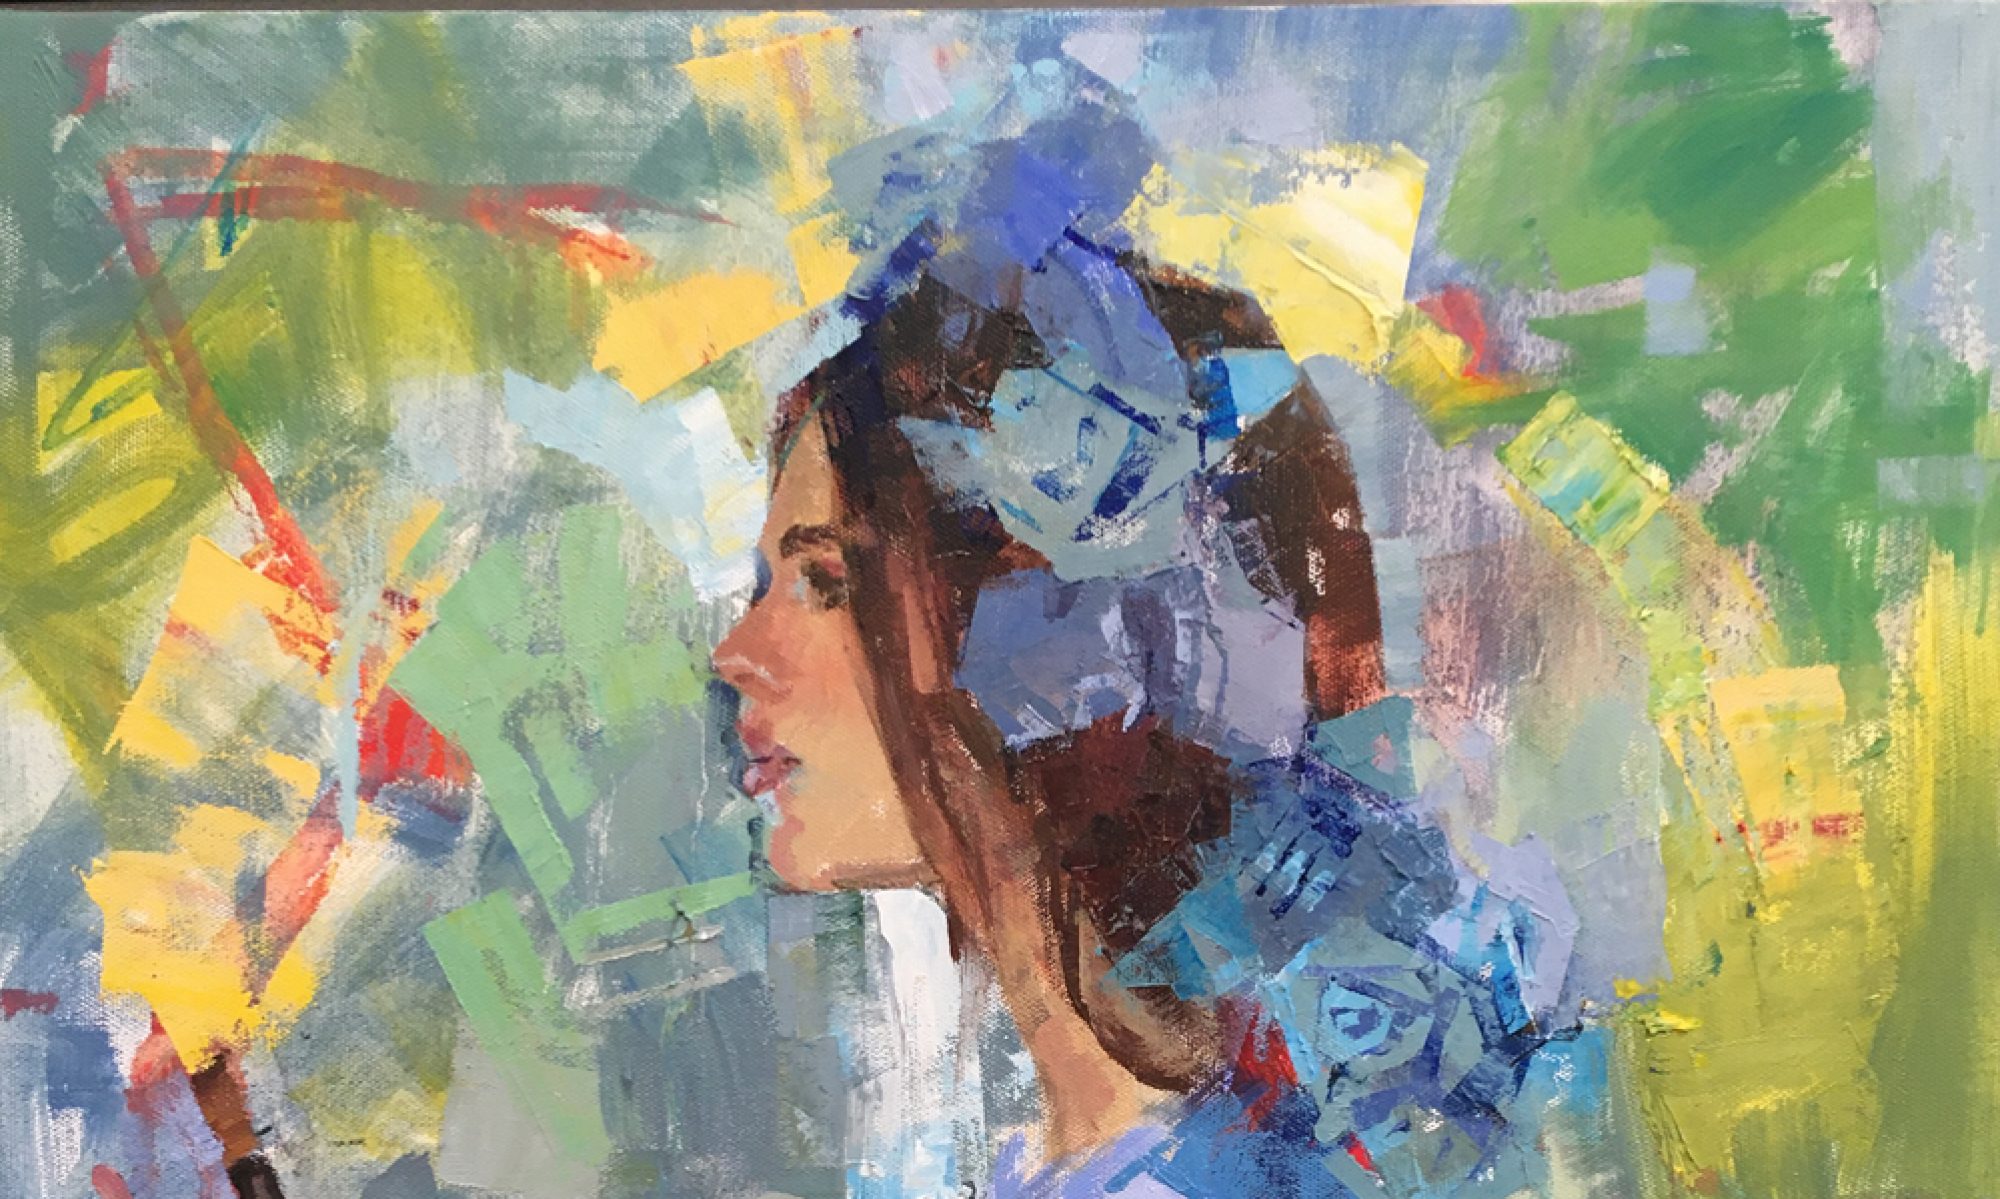
- Apply paint with a heavily loaded uncomfortably large brush, than lightly dab with turpentine, see what happens…
- Fold a paper towel into a trowel shape and swish some hard edges.
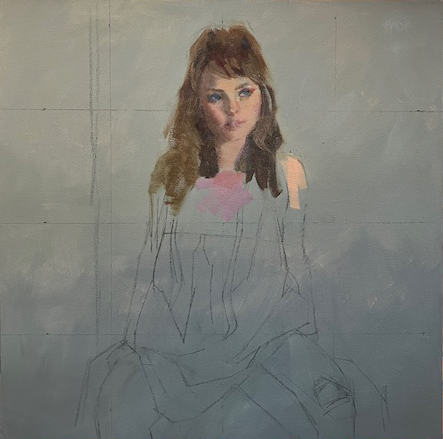
These are several ideas which can be built on in many ways. The main thing is starting first with some kind of base tone. Not a lot of inspiring things happen on a plain white canvas. Letting some layers dry before adding more is suggested, otherwise a slippery dull surface can ensue which can cause frustration. Working on several paintings at once will allow some to dry up while you’re approaching another.