I’ve been asked how I develop the idea for a painting. Here is the process I went through in a recent one.
Finding a subject that resonates with me in my reference photos is the first stage, photo #1. I liked the gesture of her stance and the way the light is falling on the right side. I will replace the background barn and the foreground gravel, I want to tell a different story about her.

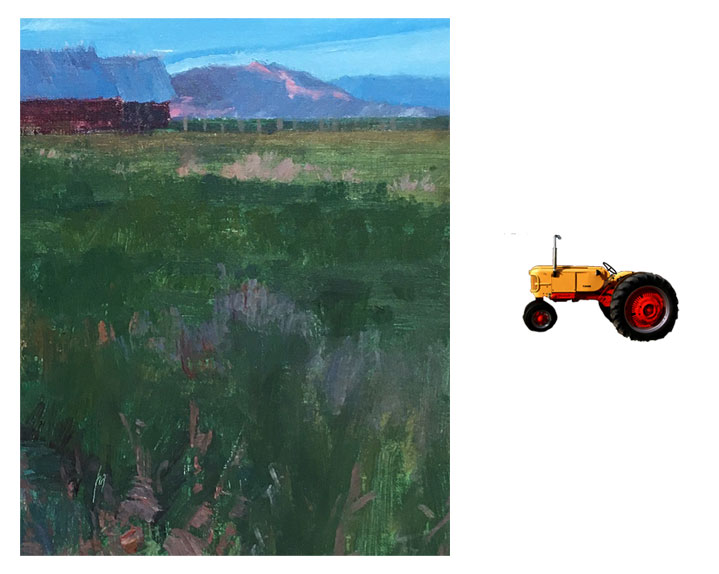
Than fleshing it out, how can I made this scene more of what I want to say? The photo on the left below, shows a cropped section of grass from a painting I did several years ago, (you never know when those old paintings will come in handy), which seemed a good environment for her. I’ll be omitting the barn and mountains in the back, just wanted the grass texture. Also it seemed a tractor would add to the story I want to tell, ( decided to use a red one instead of the yellow and red).
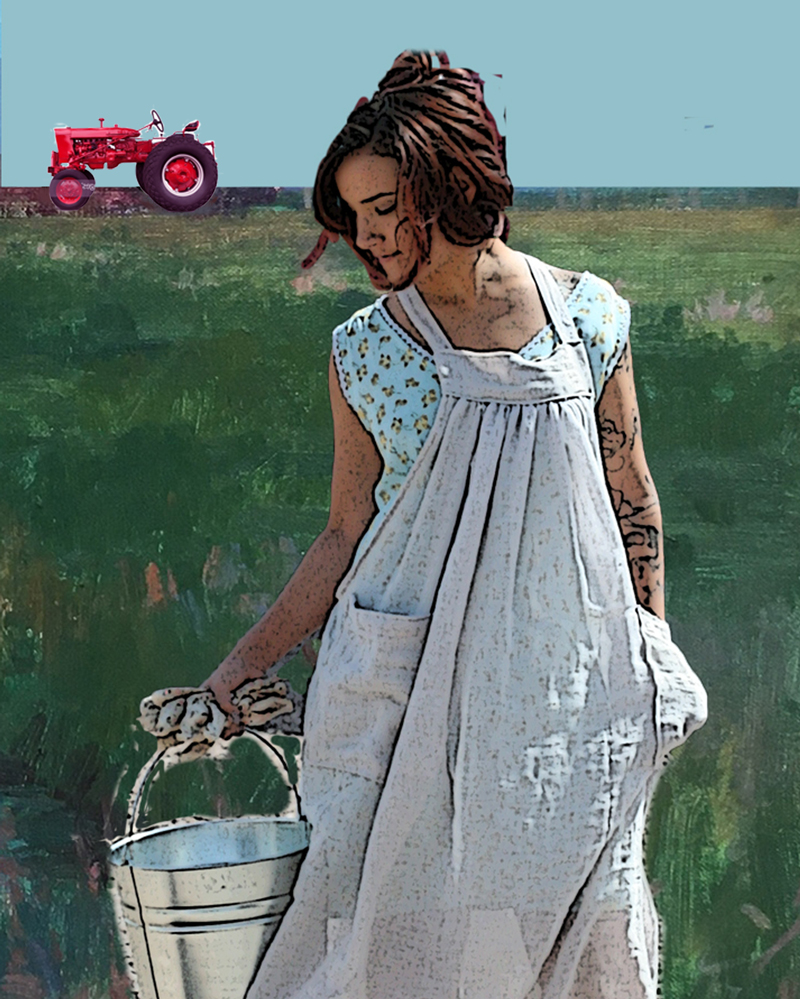
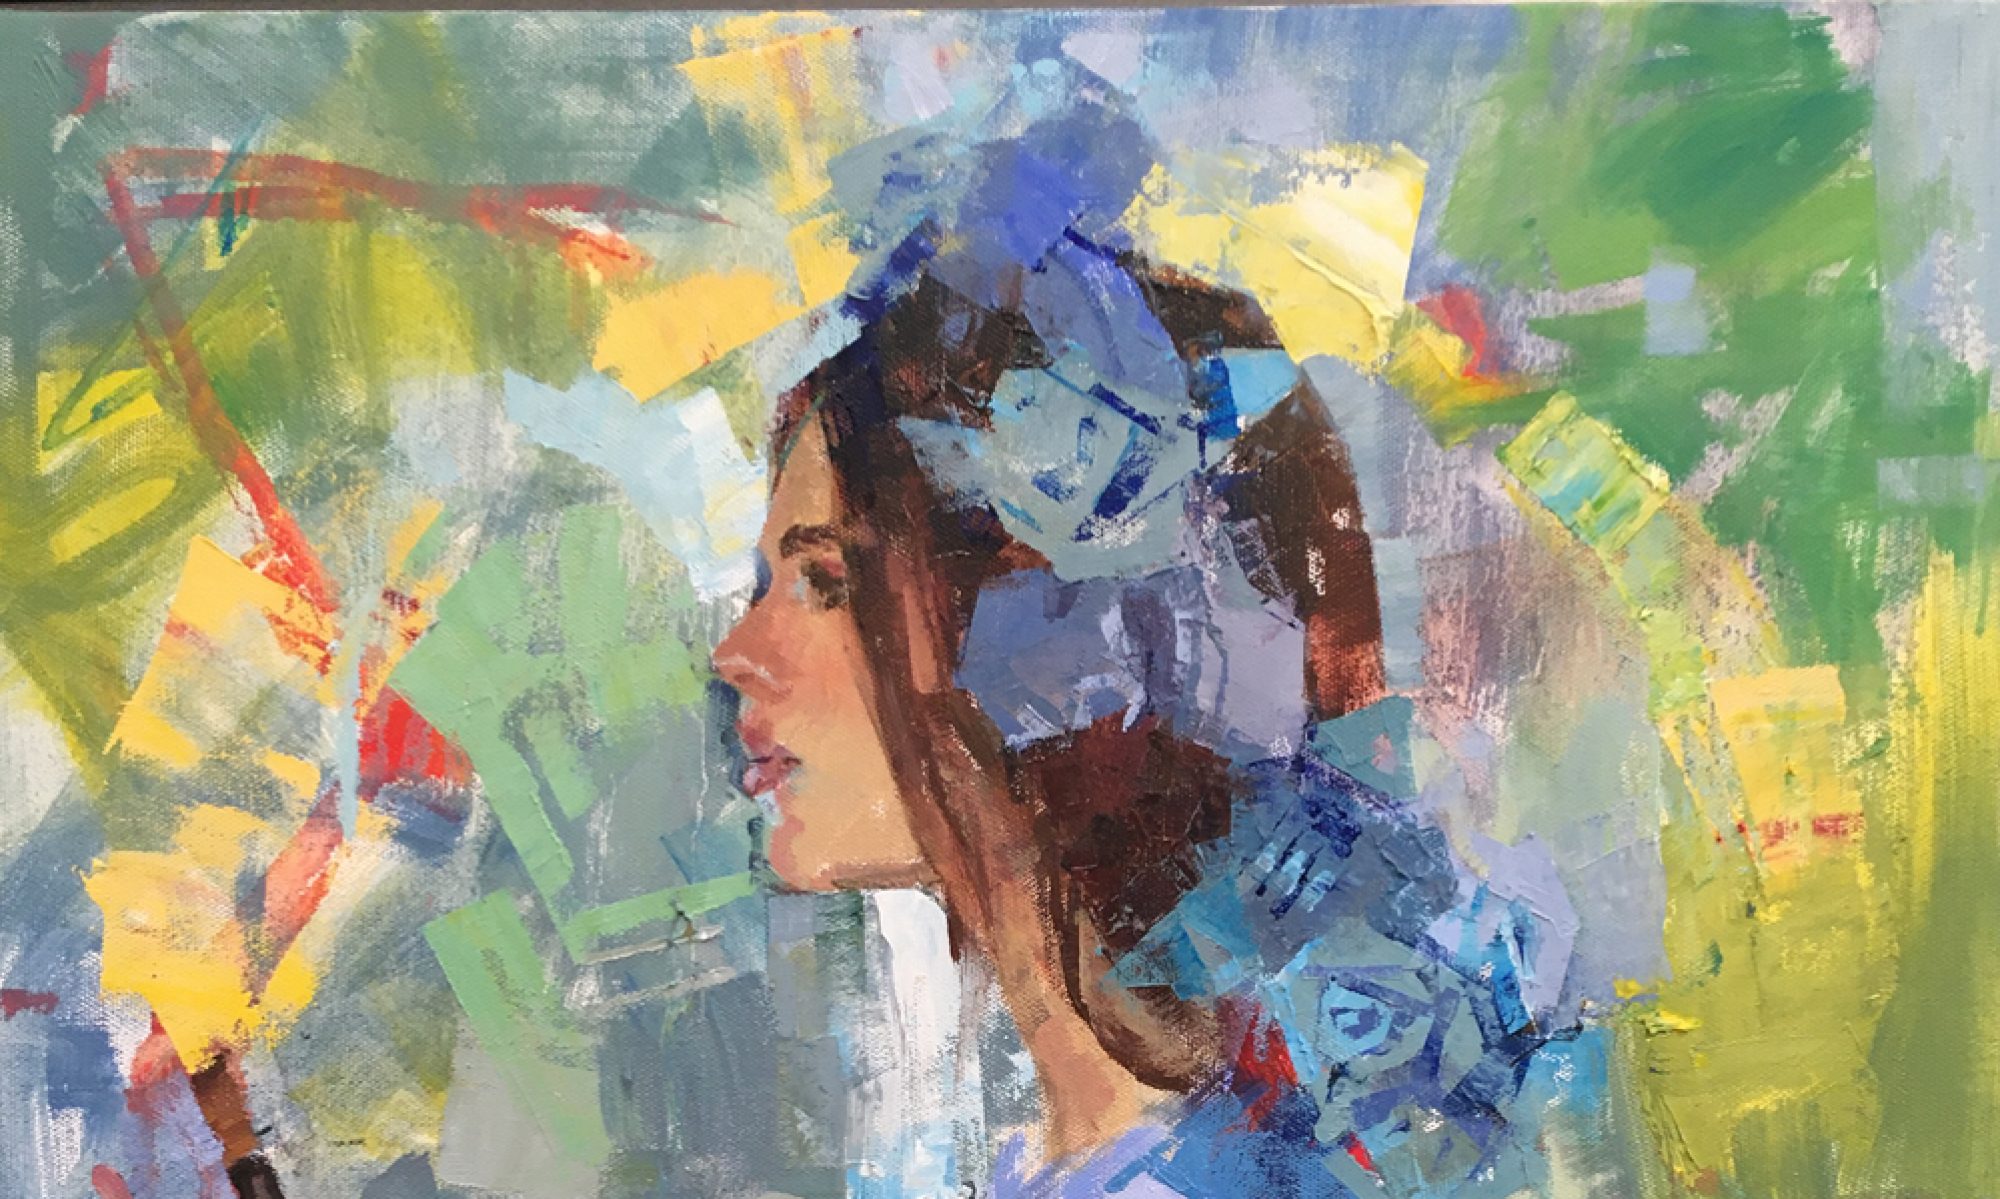
Putting them all together, it’s beginning to work. Notice how I cropped the figure in closer. A close cropping makes for bigger, bolder shapes, as well as focusing on what I feel are the most important parts.
For the first stage of this painting I decided to put a wash on the painting surface. Why? The glow of a colored wash on a white canvas can only be accomplished at the beginning. I’d like this glow to show through in small areas as the top more opaque layers of paint build up. I chose to use an orange tone under the green field area to add warmth, because green can sometimes be problematic as a raw cold color. In the area on the girl, I washed on a warm green because in real life the green in that field would be reflecting all over her. Also it creates a harmony within the painting. See the video below-
To be continued in part 2. . . . . . .


2 Replies to “Developing the Idea”